
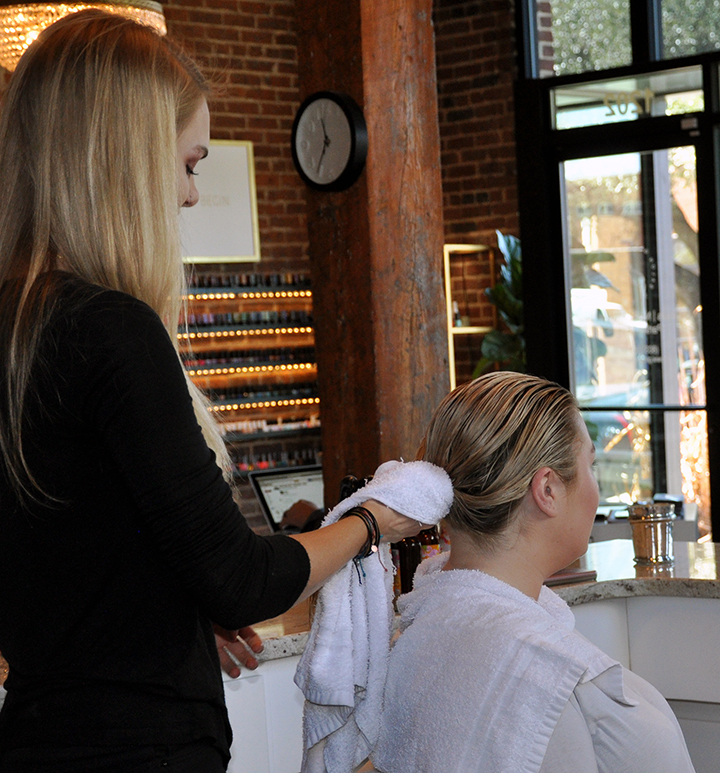
Taylor Sweeney, a hair stylist at Glowout in the Vista, washes reporter Lexi Hill’s hair. Credit: Meera Bhonslé.
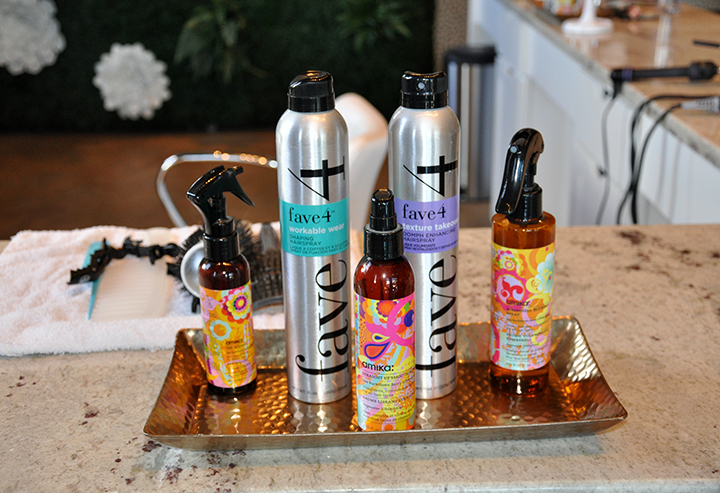
In order to accomplish the perfect at-home blowout, it helps to keep an arsenal of products nearby. The hairstylists at Glowout rely on Fave4 and Amika products, pictured above. Credit: Meera Bhonslé.
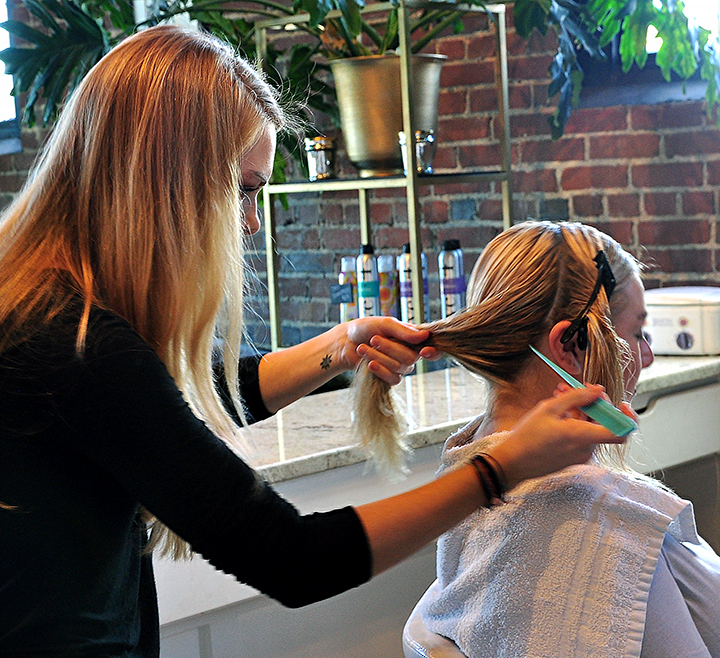
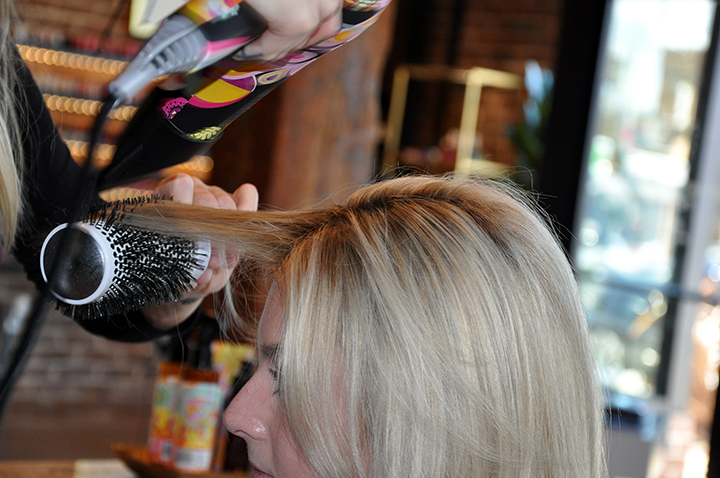
Stylist Taylor Sweeney sections of the hair into three areas, two in the front and one in the back so it is easier to blow-dry the one-inch sections of hair. Credit: Meera Bhonslé.
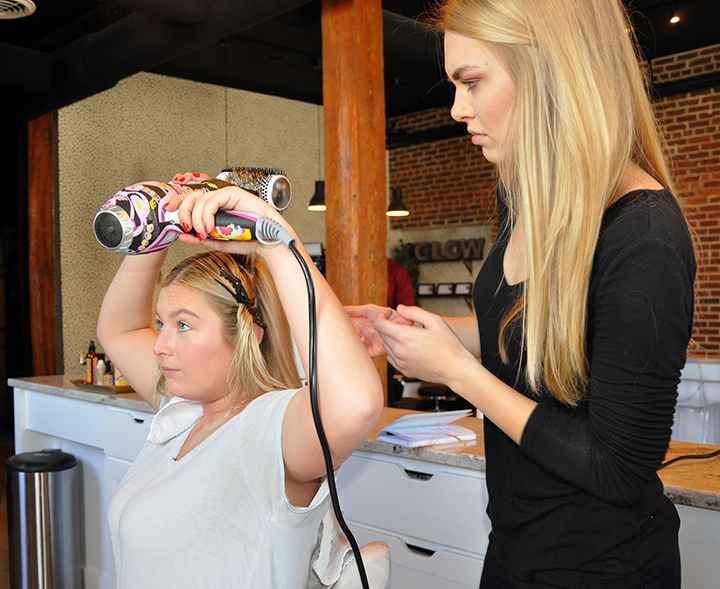
Reporter Lexi Hill tries to “roll the brush” while blow-drying her hair. Credit: Meera Bhonslé.
Stylist Taylor Sweeney frames the face by blow drying away from the face, an essential step to the salon-blowout look. Credit: Meera Bhonslé.
Who wouldn’t want to sport a blowout worthy of Kate Middleton herself? On any given day, the Duchess of Cambridge can be seen representing the British royal family with perfectly coiffed strands, likely a product of the regular blowouts and trims she has to do to maintain her appearance.
For most of us, those salon blowouts and trims aren’t in our weekly schedule. Instead, we’re left to attempt the look on our own. Between balancing the round brush and blow drier and figuring out which section of hair to start with, the task seems nearly impossible. In fact, most women give up all together when it comes to the at-home blowout.
We stopped by Glowout, a boutique salon in the Vista located at 1202 Park St., to collect the tips and tricks professional hair stylists use when they blow dry a client’s hair. With enough practice, you’ll be able to give yourself a salon-worthy blowout from your own bathroom.
Some pre-work to to start with:
-
Give your hair a good wash
And no, we don’t mean a lengthy shampoo and condition. “Shampoo your hair twice to make sure it’s clean,” said hairstylist Taylor Sweeney. “Then, only lather your hair with conditioner once, and from the middle of your stand to the end.” This process may seem like a lot, but it helps keep greasy hair away. Let’s face it, there’s nothing worse than a blowout that turns oily and flat almost instantaneously.
-
Brush and pre-dry your hair until it’s 50 percent dry
“You don’t want your hair to be soaking wet when you use a round brush,” said Taylor. In fact, the only time you’d want to jump right into blowing your hair dry with a round brush is if your hair is naturally curlier. According to Sweeney, if you don’t use a round brush right away with curlier hair, you run the risk of frizzy hair. So, if your hair falls to the curlier side, opt for a brush; if not, blow dry your hair without a brush for a little bit.
-
Apply products when necessary
If there’s a product that makes blowing dry hair easier, then why not use it? Before starting, apply a heat protectant like Amika’s Blockade Heat Defense Serum to help defrizz and protect strands from the heat. After pre-drying, Sweeney recommends spraying Bombshell Blowout to your roots, and the Wizard Multi-benefit Primer to your ends for a glossy finish. Finally, top lock everything in with Fave 4’s Texture Takeover to give your roots some volume and their Workable Wear medium hold hair spray.
When you’re finally ready to start the blow dry:
-
Section off your hair
“The hardest part for me when I’m blow-drying my own hair is getting the sections right,” said Sweeney. If this is a step you struggle with too, separate your hair into three sections starting with two smaller ones toward the front and one larger one in the back. “I normally grab the hair from behind the ear to the crown of the head on both sides for the face framing sections,” Sweeney said. Then, when it comes time to the back, she recommends blowing dry one-inch sections of hair.
-
Roll the brush
The secret to the perfect blowout? Roll the brush as you’re pulling it through your hair. At first, this will seem hard to manage, but it gets easier. Doing this will give you bounce throughout your look and smooth your strands at the same time. Sweeney will also hold the hair while it’s around the brush to set it. “I’ll even blow some cold air on it to help it hold a little bit more quickly,” she said.
-
Take special care with face-framing pieces
“I always recommend facing the brush and blow drier away from the face,” Sweeney said. This opens up the hair and is often the most flattering style for women. One tip she recommends is over-directing the hair to the opposite side of the head you’re blow drying. For example, if you’re blowing dry the front left section of your hair, you’d angle the hair to the right. This process adds volume to your hair.
When it comes down to it, blowing dry your hair isn’t as hard as it seems. It may take some practice, but once you master it you’ll never stop!
